
Why Window Installation Matters More Than the Window Itself
Colorado's swing from hot, dry summers to cold winters with heavy snow loads puts real stress on a window opening, not just the glass and frame sitting in it. A well-made window installed poorly will still draft, stick, or fog early, while a mid-grade window installed correctly can perform for decades. The install is where most of the long-term performance actually gets decided.
That's true whether you're doing one window on a weekend project or planning to replace every window in the house. Homeowners across the Denver metro, Englewood, and nearby towns often start a project assuming the window is the variable that matters most, when in practice the opening, the flashing, and the seal around the frame do more work over the life of the window than the glass package does.
What Actually Happens Inside the Wall
A window opening is a framed hole in the wall with a sill, jack studs, and a header carrying load above it. Everything about installation, from shimming to sealing, exists to keep that opening weathertight and structurally sound while letting the window operate freely inside it.
Pocket Replacement vs. Full-Frame Replacement
A pocket replacement slides a new window into the existing frame, leaving the old frame and exterior trim in place. It's faster and less invasive, and it works well when the existing frame is still square, dry, and structurally sound.
A full-frame replacement removes the window down to the rough opening, including the old frame, so the installer can inspect and repair the framing, flashing, and sill underneath. It takes longer and costs more in labor, but it's the right call any time there's visible rot, water staining, or a frame that's no longer square.
Why the Sill and Flashing Do the Real Work
The sill at the bottom of the opening is the first line of defense against water, which is why it needs a slight outward slope and proper flashing tape before the new window ever goes in. Skipping this step is one of the most common reasons a newly installed window starts leaking within a year or two.
Flashing around the sides and top of the opening directs any water that gets behind the siding back out, rather than into the wall cavity. On homes with siding that's been patched or repaired over the years, checking the flashing during a window project is a good chance to catch problems before they spread.
| Factor | Pocket Replacement | Full-Frame Replacement |
|---|---|---|
| Existing frame condition | Must be square and dry | Can be damaged or out of square |
| Labor time | Shorter | Longer, more involved |
| Exterior trim | Stays in place | Removed and replaced |
| Best for | Sound openings, like-for-like swaps | Rot, water damage, or resizing |
The Parts of a Replacement Window Install
Beyond the window unit itself, a proper install involves shims to level and square the frame inside the opening, structural screws or nailing fins to anchor it, low-expansion foam or fiberglass insulation to fill the gap between the frame and the rough opening, and exterior-grade sealant where the frame meets the siding or trim.
Interior trim and exterior caulk finish the job, but they're cosmetic, not structural. The parts that actually determine how the window performs, air sealing, water management, and square alignment, are all hidden once the trim goes back on, which is exactly why they're worth getting right the first time.
Step-by-Step: How a Window Replacement Goes In
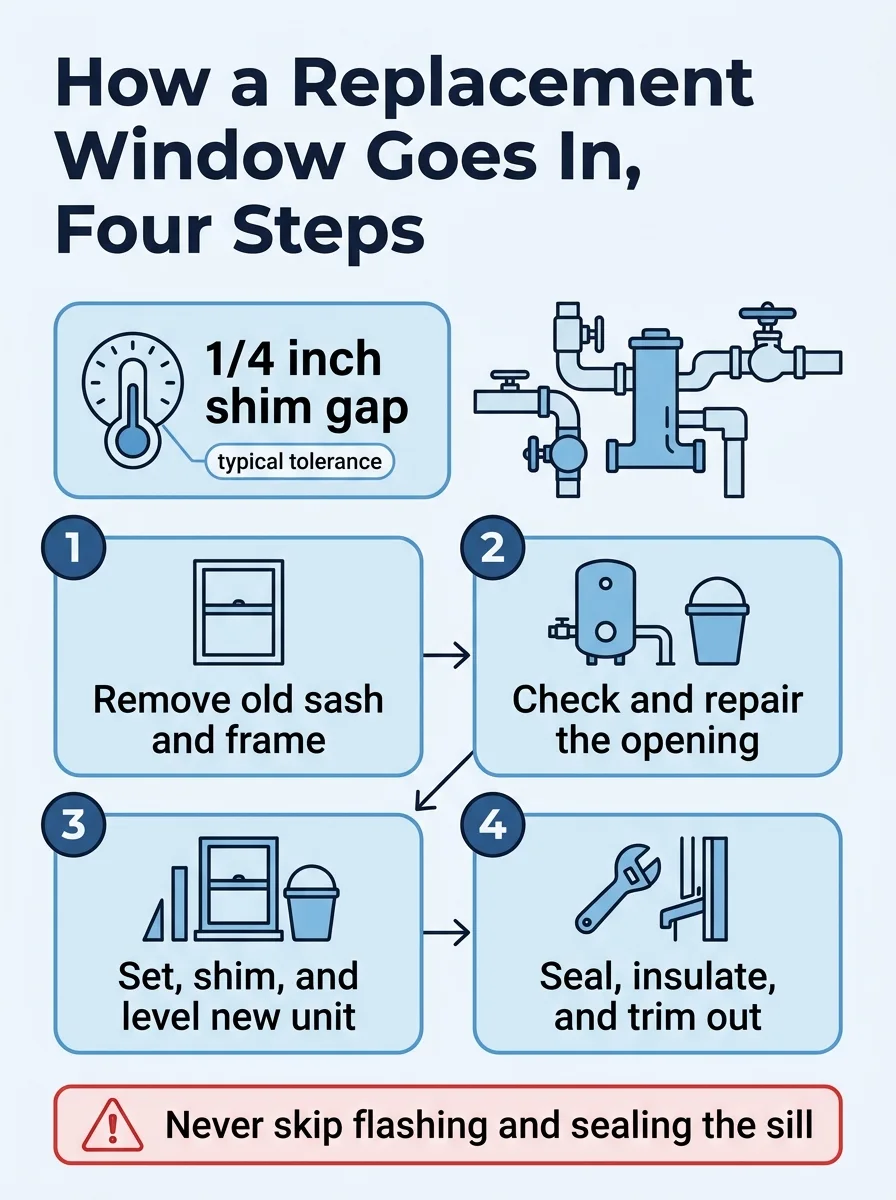
The sequence below covers a typical pocket or full-frame replacement from removal to finish. Skipping or rushing any one of these steps is usually where problems start.
- Remove the old window: Pry out interior stops and trim, then carefully cut or pry the old sash and frame free without damaging the rough opening underneath.
- Inspect the opening: Check the sill, jambs, and header for soft wood, water staining, or anything out of square before setting the new unit.
- Repair as needed: Replace any damaged framing and install new flashing tape across the sill and up the sides before the window goes in.
- Dry-fit the new window: Set the window into the opening without fasteners to confirm it fits square and level with consistent gaps on all sides.
- Shim and fasten: Shim behind the frame at the corners and midpoints, then drive screws or nails through the fins or jambs to anchor it.
- Insulate the gap: Fill the space between the frame and rough opening with low-expansion foam, avoiding overfilling that can bow the frame.
- Seal and trim: Caulk the exterior where the frame meets the siding, then reinstall interior trim and touch up paint or stain.
How Do You Know If an Installation Was Done Right?
A correctly installed window opens and closes smoothly, locks without forcing, and sits flush with consistent reveals around the sash. If you can feel a draft along the frame edges on a windy day or notice the sash binding in one corner, that usually points back to shimming or squaring during install, not a problem with the window itself.
Signs of a Good Install
Look for even gaps between the sash and frame, smooth operation with no sticking, and a clean, consistent caulk line on the exterior where the frame meets the siding. Inside, the trim should sit tight against the wall without visible gaps or warping.
No condensation forming between the glass panes, no musty smell near the sill, and no visible staining on interior trim are all good signs the seal and flashing are doing their job through a full Colorado winter and summer.
Warning Signs Worth Checking
A window that's hard to lock, whistles in the wind, or has a soft spot developing on the interior sill is telling you something happened at the opening, not just at the glass. These issues tend to get worse with each heating and cooling cycle rather than resolve on their own.
If you're seeing any of these signs on a window that was recently installed, or on an older window you're considering replacing, a free inspection can usually tell you quickly whether it's a repair or a full replacement situation.
DIY vs. Calling a Pro
A single pocket replacement in a sound opening, especially a smaller window like a bathroom or basement unit, is a reasonable weekend project for a homeowner comfortable with basic carpentry and a level. Measuring accurately and taking time on the shimming step matters more than brute strength or speed.
Full-frame replacements, anything involving rotted framing, brick or stucco exteriors, or more than a couple windows at once usually make more sense for a licensed installer. The labor adds up fast once you're cutting into siding or masonry, and a mis-set frame on a full-frame job is far more expensive to fix after the fact than it would have been to do right the first time.
If you're planning to replace several windows in a brick house or you're not sure whether what you're looking at is a repair or a replacement job, it's worth getting an opinion before buying materials. A short inspection can save a weekend of work on the wrong approach.
Getting the Install Right the First Time
Replacement window installation comes down to a handful of fundamentals done consistently: a sound opening, correct flashing, careful shimming, and a sealed, insulated gap around the frame. Get those right and the window itself, whatever brand or style you choose, has a real chance to perform for its full lifespan.
For homeowners across Englewood and the wider Denver Metro who'd rather have it done once and done right, Precise Windows LLC measures each opening on-site and installs with the gap properly sealed before the trim ever goes back on.
Frequently asked questions
Can I install a replacement window myself?
A pocket-style replacement into a sound, square opening is within reach for an experienced DIYer with the right tools. Full-frame replacements, anything involving rotted framing, or houses with brick or stucco exteriors usually need a licensed installer because the opening work changes the job entirely.
What tools do I need to install a replacement window?
At minimum you'll want a pry bar, level, shims, a reciprocating saw or utility knife for removing old caulk and nails, a caulk gun, exterior-grade sealant, and insulating foam rated for windows. Measuring tools and a second pair of hands matter just as much as the power tools.
How do you know if a window opening needs repair before installing?
Soft or discolored wood around the sill, gaps you can see daylight through, or a frame that's out of square are all signs the opening needs work first. Installing a new window into a damaged opening just traps the problem behind new trim.
Do you need a permit to replace windows in Colorado?
Permit requirements vary by city and county in the Denver Metro, so check with your local building department before starting, especially if you're changing the window size or egress opening. A straightforward like-for-like replacement often has lighter requirements than a full-frame swap.
What happens if a replacement window isn't shimmed and sealed correctly?
An improperly shimmed window can bind, leak air around the frame, or let water into the wall cavity over time. Correct shimming keeps the frame square and the sash operating smoothly, while proper sealing is what actually stops drafts and moisture, not just the glass itself.